Install Magics
Ensure that you have Magics installed on your computer. You can find instructions for this on this page.
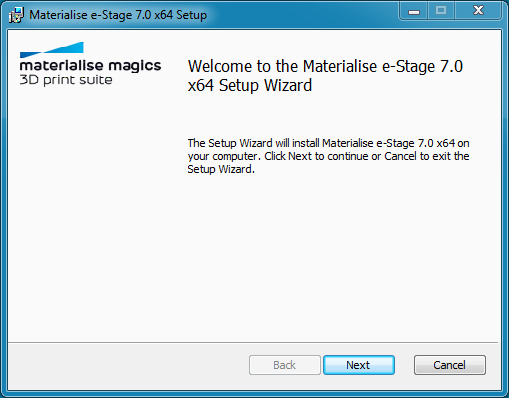
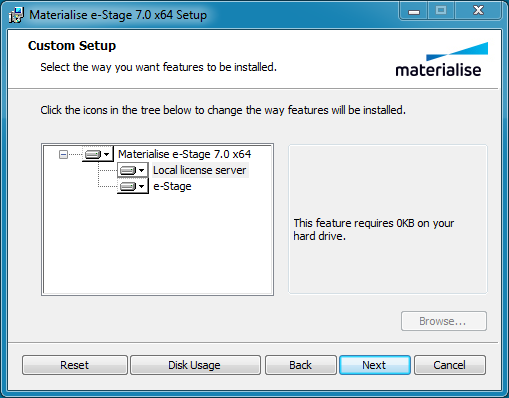
Install e-Stage
Run the Materialise e-Stage installer and accept the installation defaults.

Configure Magics
-
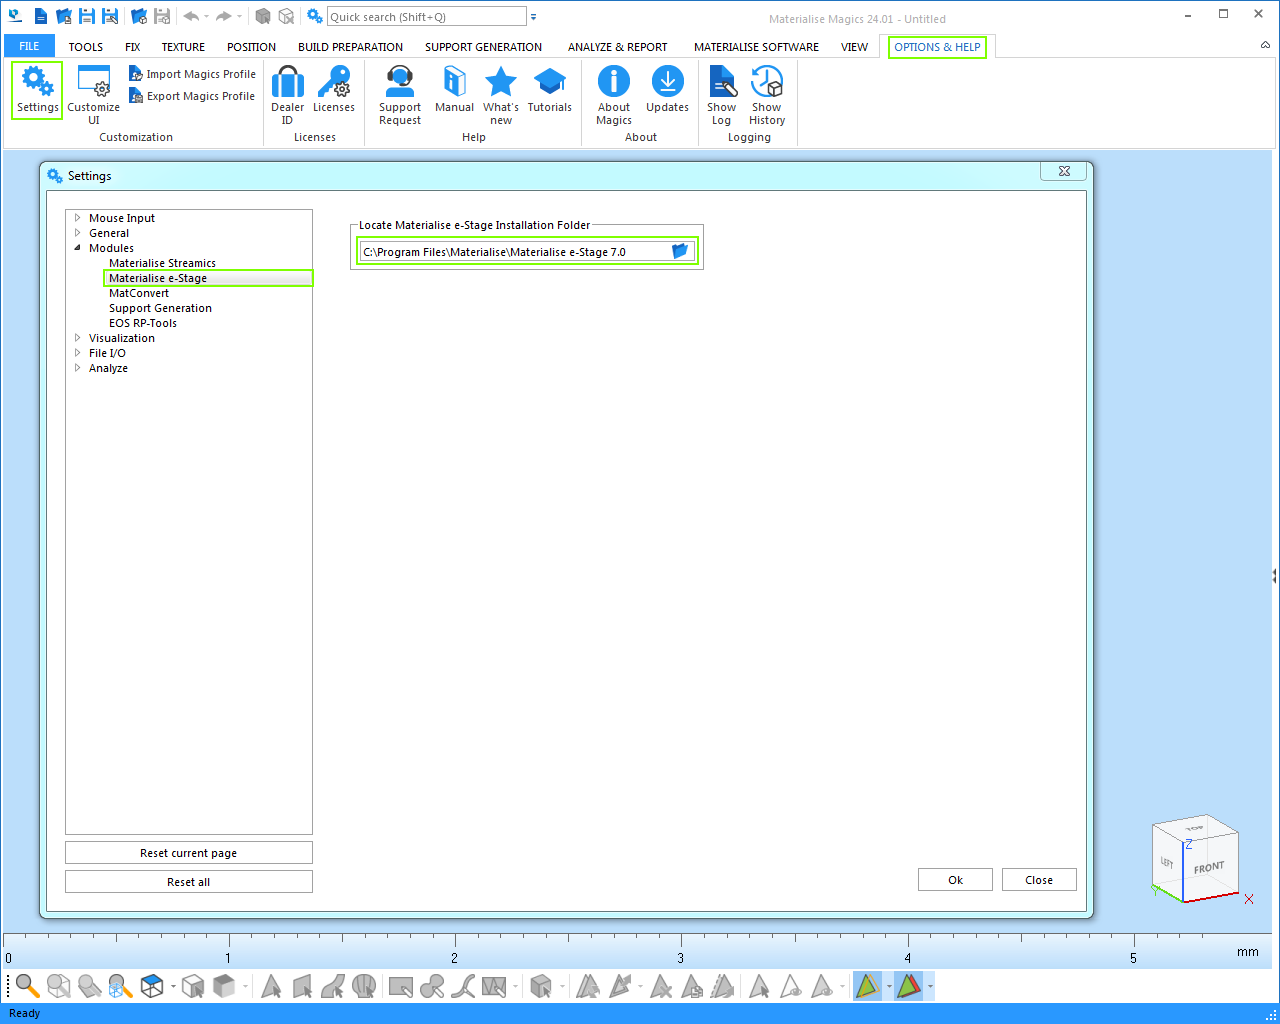
From the Options & Help toolbar, select the Settings button. In the Settings dialog, go to Modules, then to Materialise e-Stage.
Using the Browse button, locate the Materialise e-Stage Installation Folder.
-
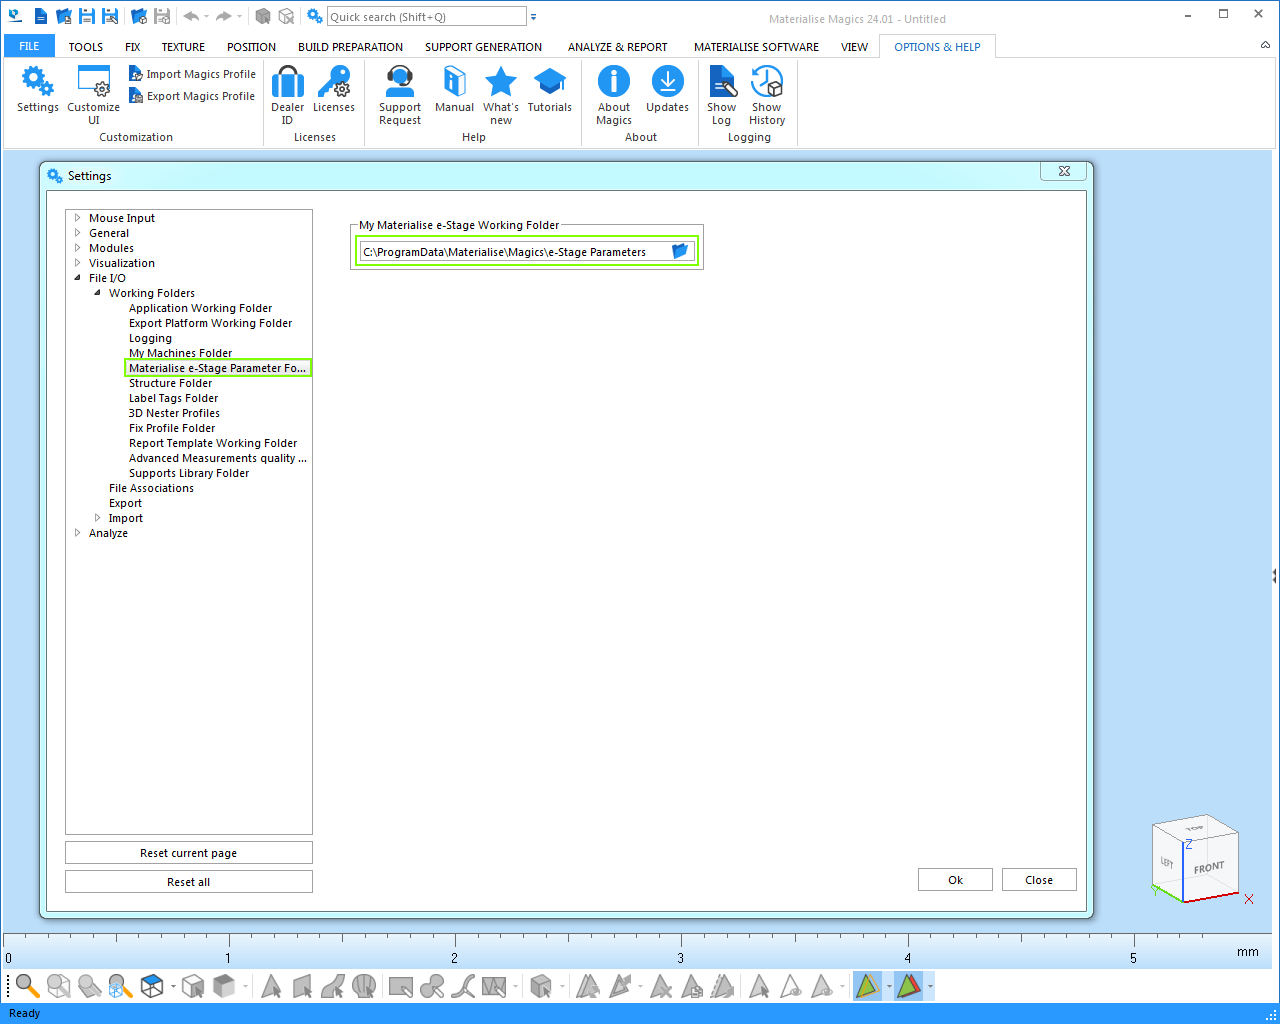
In the Settings dialog, go to File I/O, then to Working Folders, then to Materialise e-Stage Parameter Folder.
Using the Browse button, locate the Materialise e-Stage Parameter Folder as below.
Note: Make sure you have the folder on your computer and that you have sufficient permission to access this folder. In Windows, this is known as “Full Control”.
Configure machines in Magics
-
For every machine for which you wish to generate e-Stage support, you will need to configure the use of e-Stage.
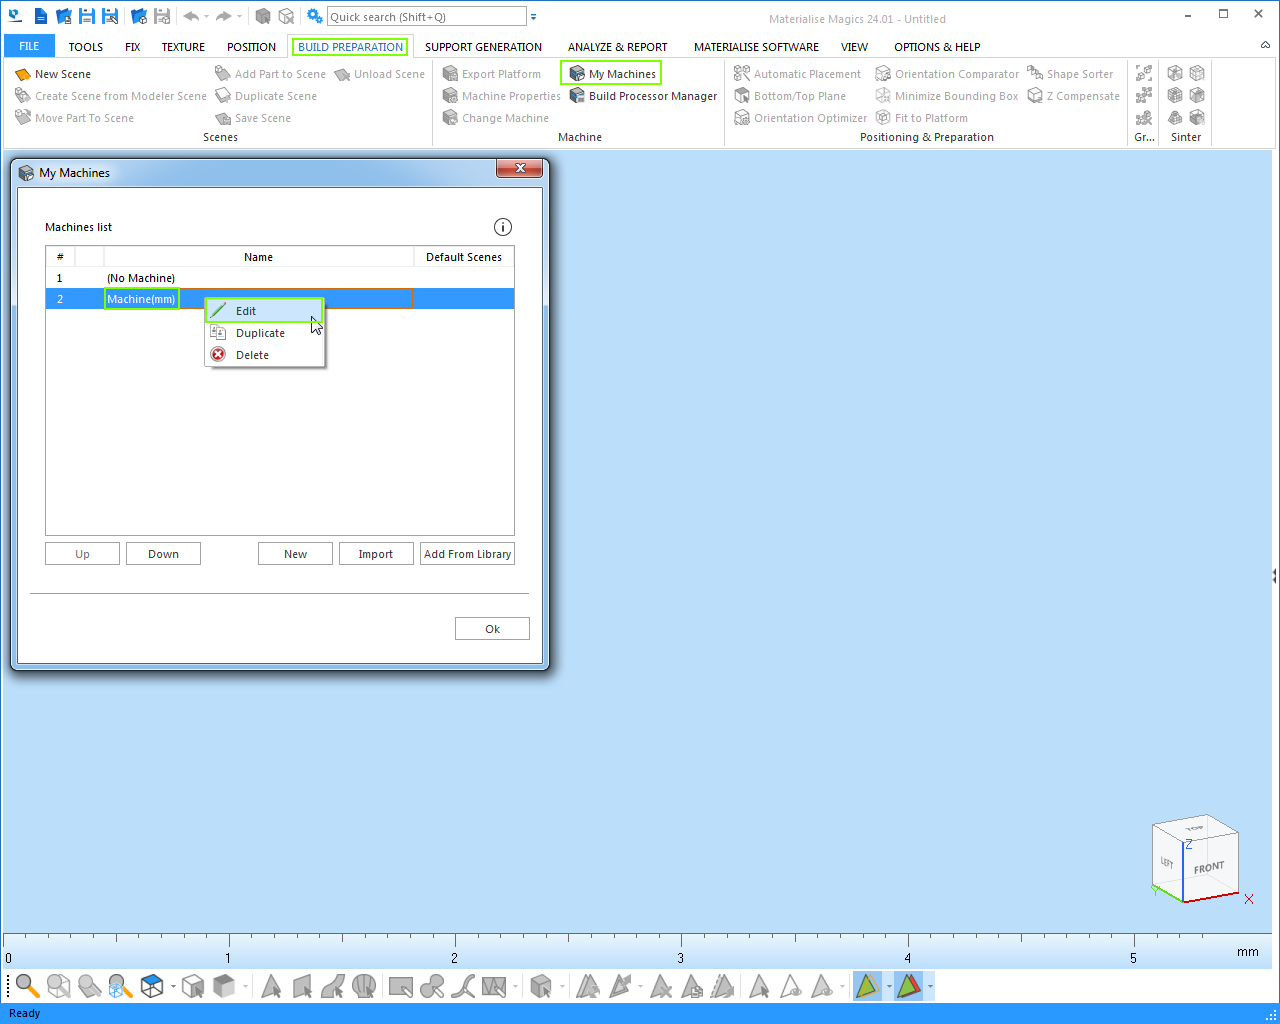
From the Build Preparation toolbar, select the My Machines button. In the My Machines dialog, select the desired machine, then select Edit from the context menu.
-
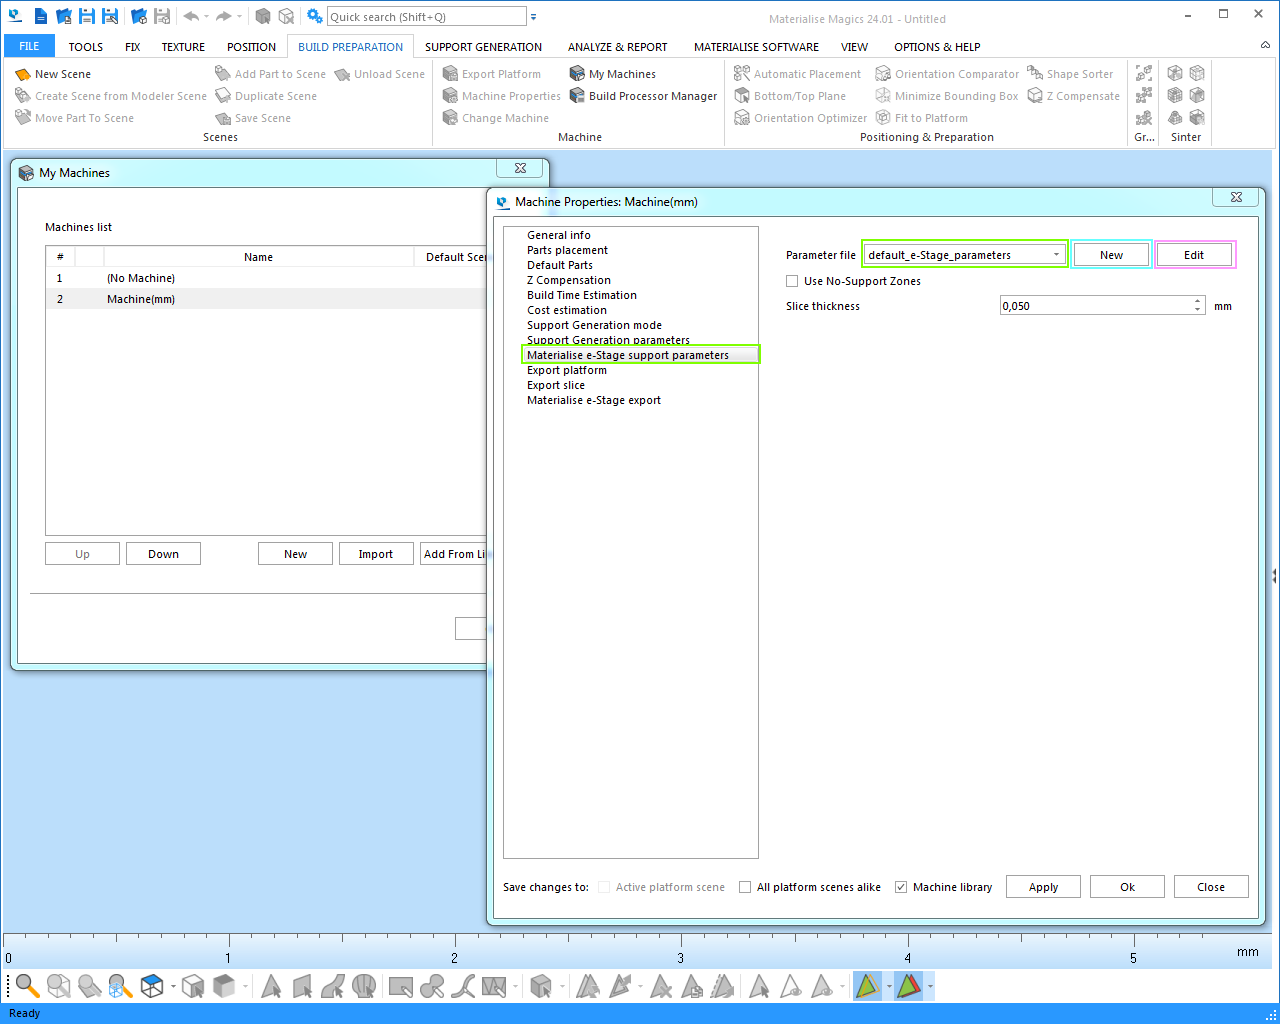
In the Machine Properties dialog, go to Materialise e-Stage support parameters.
Select a parameter file from the drop-down list, or press the New button if no parameter file exists, or press Edit if you wish to modify the selected parameter file.
-
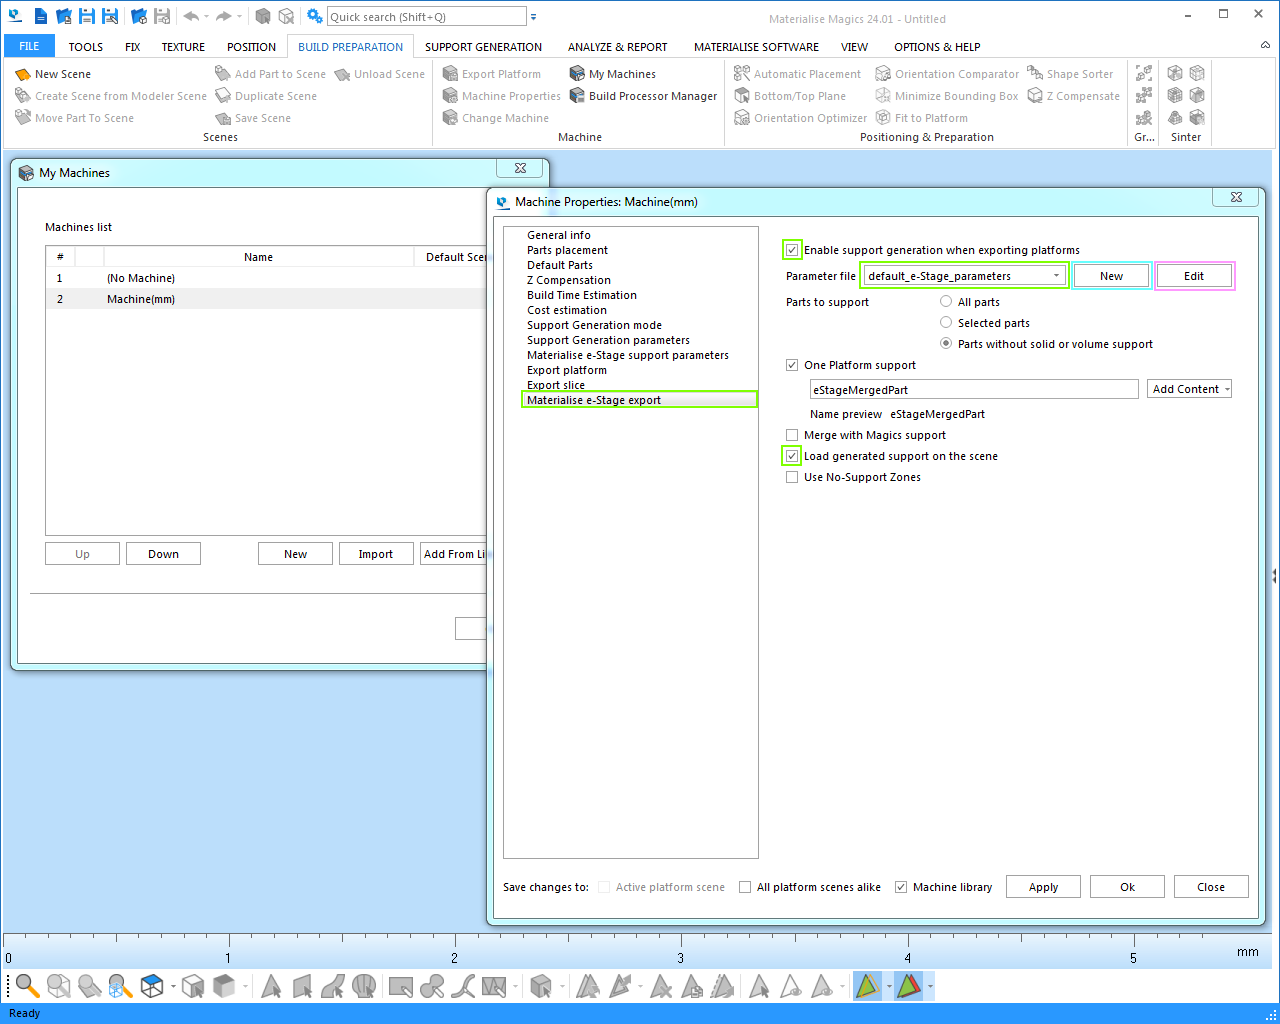
In the Machine Properties dialog, go to Materialise e-Stage export.
First, tick the checkbox Enable support generation when exporting platforms. Then select the desired parameter file from the drop-down list. If no parameter file exists, press the New button to create one. If you wish to modify the parameter file, press the Edit button. Lastly, tick the checkbox Load generated support on scene to display the created support after it has been generated.
Verifying e-Stage support generation
-
Create a platform scene, and place a part above the base inside the platform envelope.
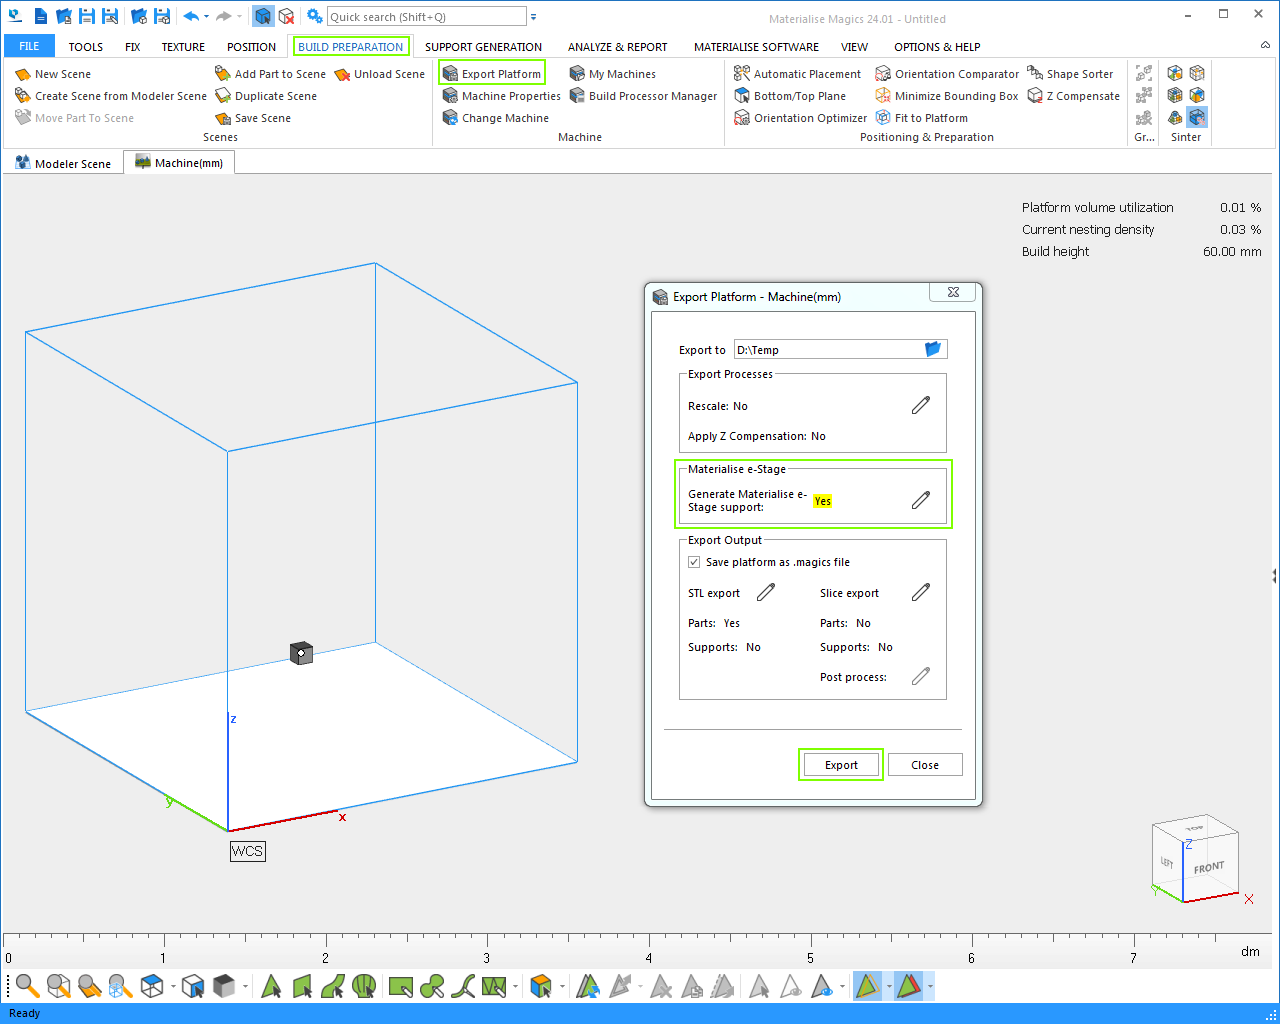
From the Build Preparation toolbar, select the Export Platform button. In the Export Platform dialog, verify that Generate Materialise e-Stage support is set to Yes.
Press the Export button to export the platform while e-Stage support is generated.
-
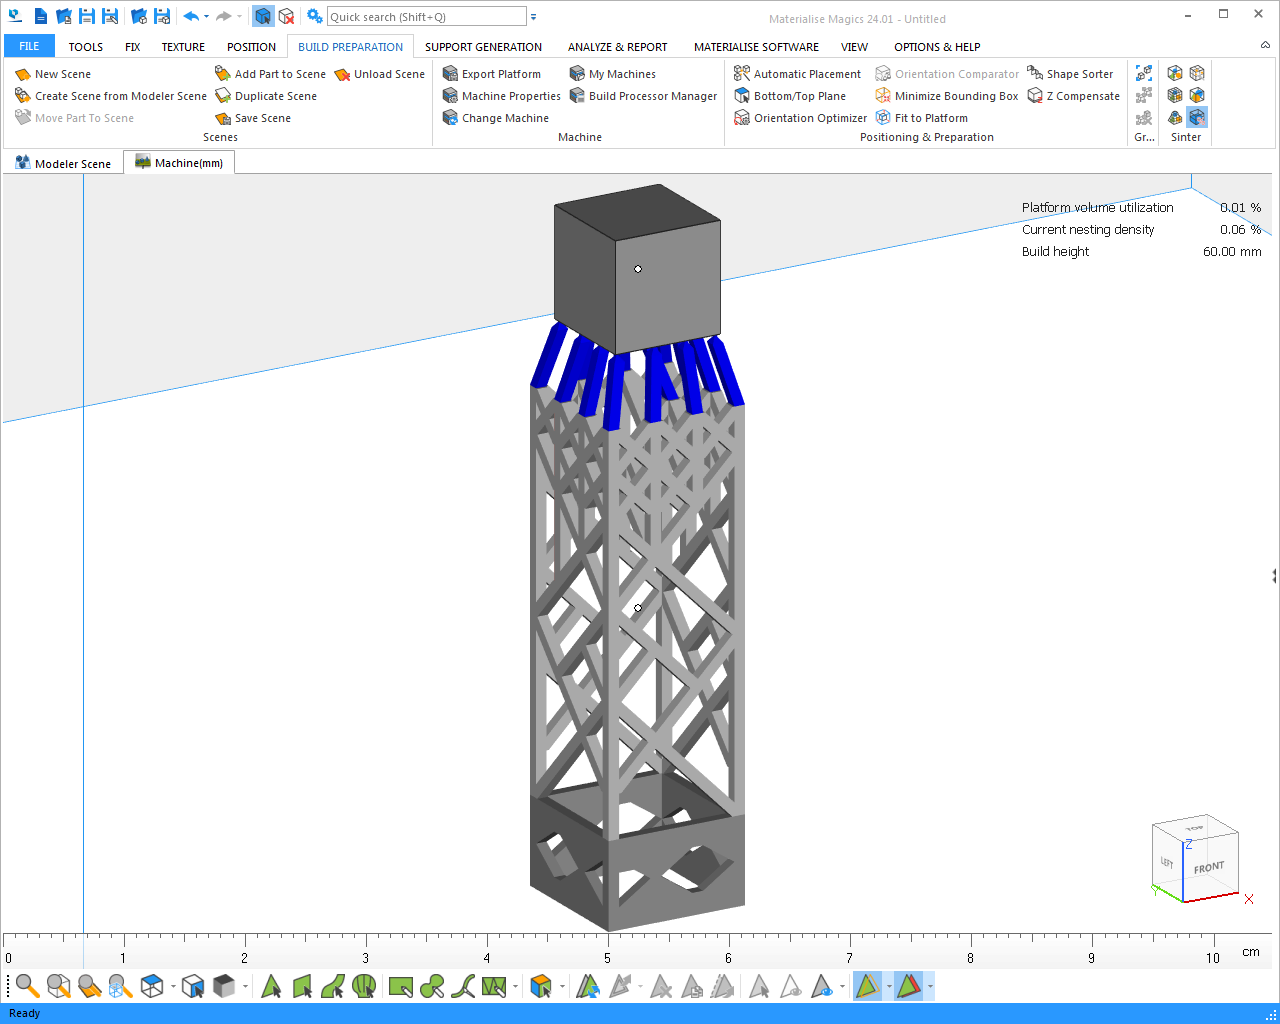
Inspect the generated support and reiterate the procedure using different e-Stage parameters, if needed.