The Formlabs PreForm software imports 3MF and STL files without taking position information into account. If you import files in PreForm that were prepared in Magics using, for example, the Sinter module, you will notice that the imported parts would have changed position completely.
To prevent this from happening, a merge of all parts shall be required.
For Fuse1 machines in particular, you can perform the following steps:
In Magics:
-
Create a new machine for each Formlabs material (e.g. Fuse 1+: Nylon 11, Nylon 11CF, Nylon 12, Nylon 12 GF, and TPU 90A. Each material has a slightly different automatic rescale factor when importing parts in the PreForm software, hence this will already need to be taken into consideration when creating a new machine.
-
Since each material has a slightly different rescale factor, your build dimension shall be slightly different per machine. You can start with a build volume of 160 x 160 x 290 mm, but the final dimensions depend on the material. Evaluation in the PreForm software is required.
- Create a build platform with rounded no-build zones:
-
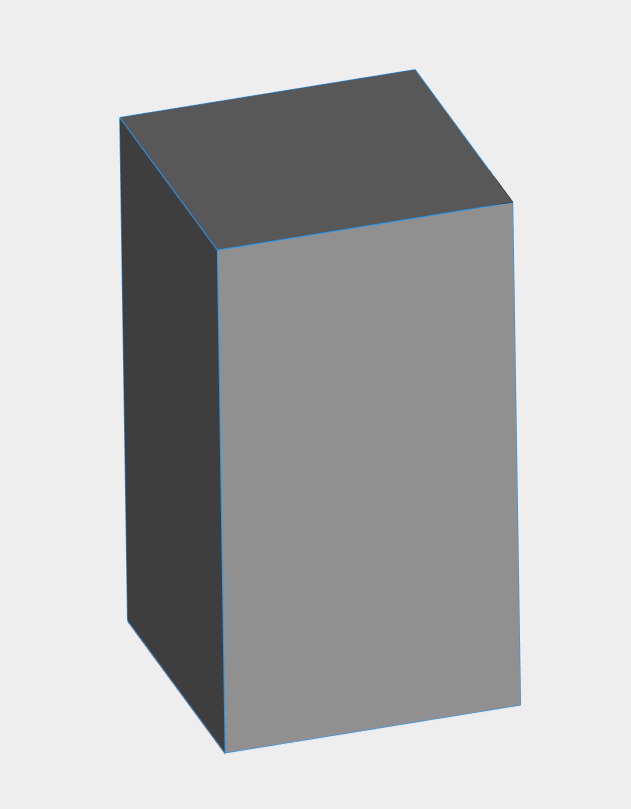
Use the ‘create’ function in Magics, and create a Box using the same dimensions as your build volume (as described in step 2). Translate the box so it fully overlaps with the build volume.
-
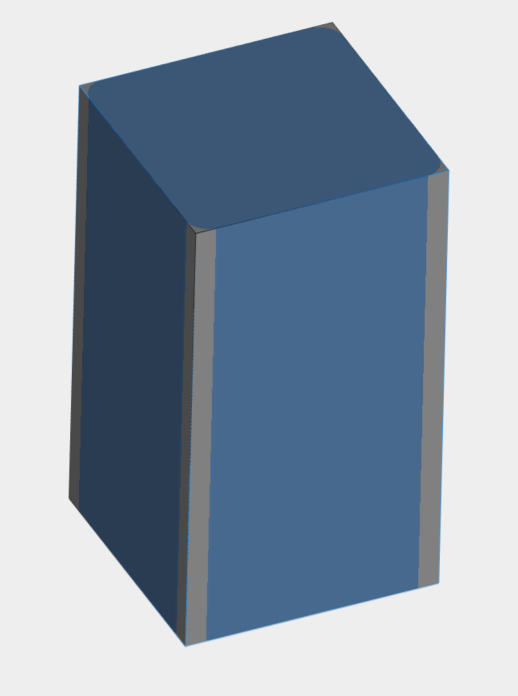
Use the ‘create’ function in Magics to create a Rounded Box using the same dimensions as the build volume. Use a radius of +-16mm for the rounded corners. Translate this box as well so it is fully in the build volume:
-
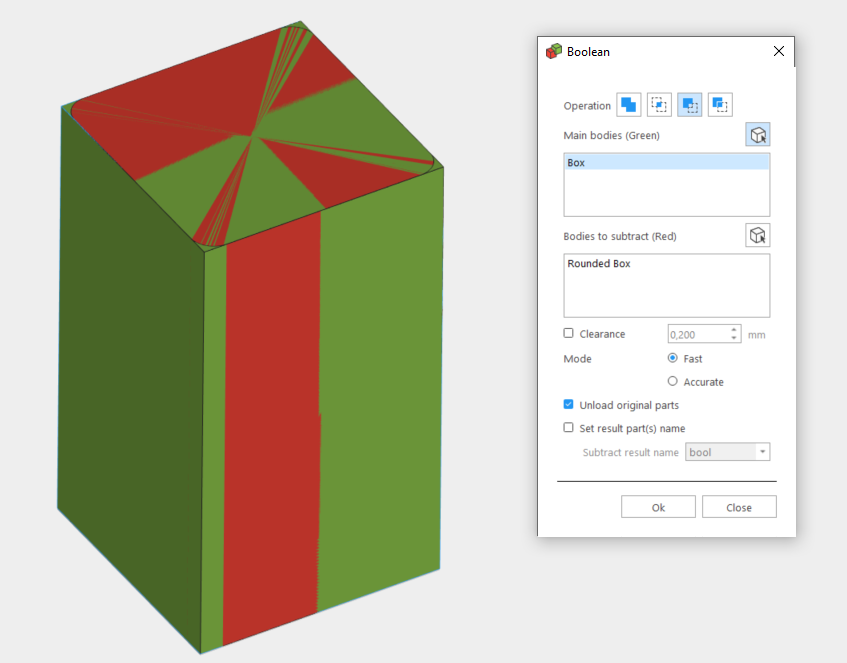
Perform a Boolean subtract operation: subtract the rounded box from the box
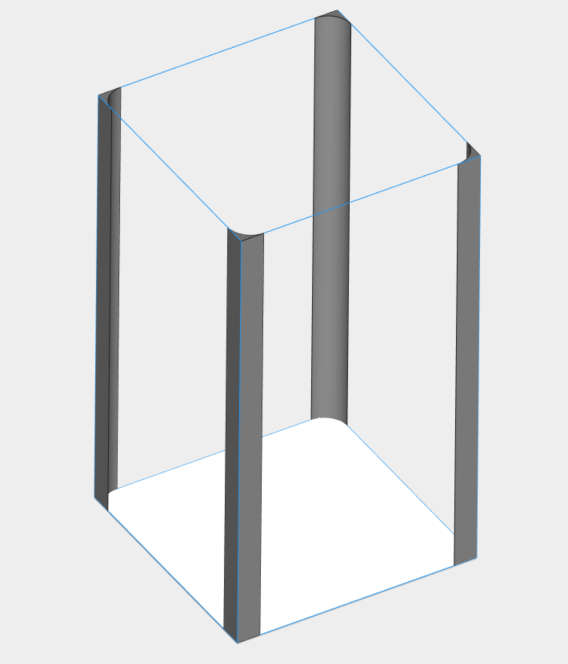
- Save the resulting part as nobuildzone.stl somewhere in a directory
- Go to your machine properties, and under “Default Parts,” enable the no-build zones and click on “Import part as zone.”
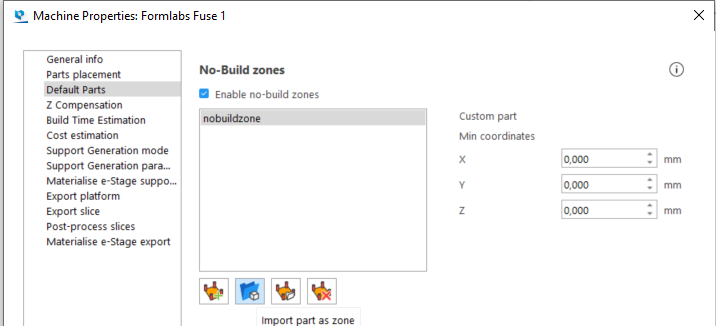
Select the nobuildzone.stl part you just saved. Be sure to enable the save changes to the “Machine library” option when saving your configuration.
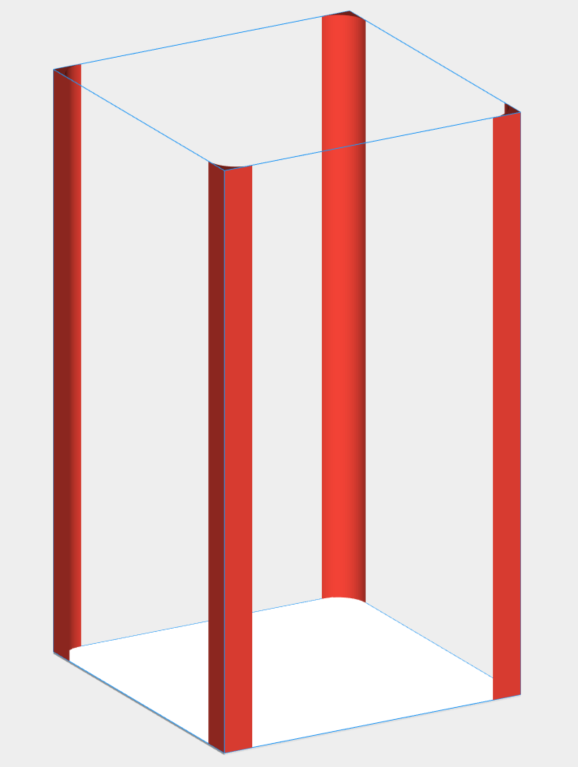
The result shall be as follows:
-
Use the ‘create’ function in Magics, and create a Box using the same dimensions as your build volume (as described in step 2). Translate the box so it fully overlaps with the build volume.
-
Place parts in the platform (Repair STLs, Manual placement, Automatic placement, 3D Nester...)
-
IMPORTANT: Merge all parts
-
Export merged part as one STL
In PreForm:
-
Select printer according to job preparation in Magics (e.g., Fuse 1+)
-
Select material according to job preparation in Magics (e.g., Nylon 11 CF)
-
Drag and drop the merged part that was exported in Magics
-
If STL errors are still occurring, PreForm will ask you to repair them in Fusion 360. Click "Repair"
-
If a warning states that parts are outside of the build chamber, a wrong printer or material has been chosen, the Magics Platform Scene uses the wrong x,y,z values for the specified printer or material, or no-build zones are not correctly defined
Attention: No clearance check between parts will be done by PreForm since parts are merged into one single part.